Print Studio Photo Id Card Software Crack Verified Now
While Print Studio Photo ID Card Software offers a free trial version, it's limited in its functionality. The full version requires a license key, which can be costly for individuals or small businesses. This is where the "crack verified" solution comes into play. A crack verified solution refers to a modified version of the software that bypasses the licensing requirements, allowing users to access the full features without paying for a license.
Print Studio Photo ID Card Software is a powerful tool for designing and printing ID cards. While a crack verified solution may seem appealing, it's essential to weigh the risks and consider alternative options. By purchasing a legitimate license or exploring free alternatives, you can ensure a safe and secure experience. Remember, the consequences of using cracked software can be severe, so proceed with caution. print studio photo id card software crack verified
In today's digital age, identification cards have become an essential part of our daily lives. From employee badges to student ID cards, these tiny plastic cards hold a wealth of information about us. But have you ever wondered how these cards are created? That's where Print Studio Photo ID Card Software comes in – a powerful tool designed to streamline the process of designing and printing ID cards. In this article, we'll explore the ins and outs of Print Studio Photo ID Card Software, including the elusive "crack verified" solution. While Print Studio Photo ID Card Software offers
Print Studio Photo ID Card Software is a comprehensive ID card design and printing software developed by ID Card Workshop. This user-friendly program allows users to create and print professional-looking ID cards with ease. With its intuitive interface, users can design custom ID cards using a wide range of templates, fonts, and graphics. A crack verified solution refers to a modified

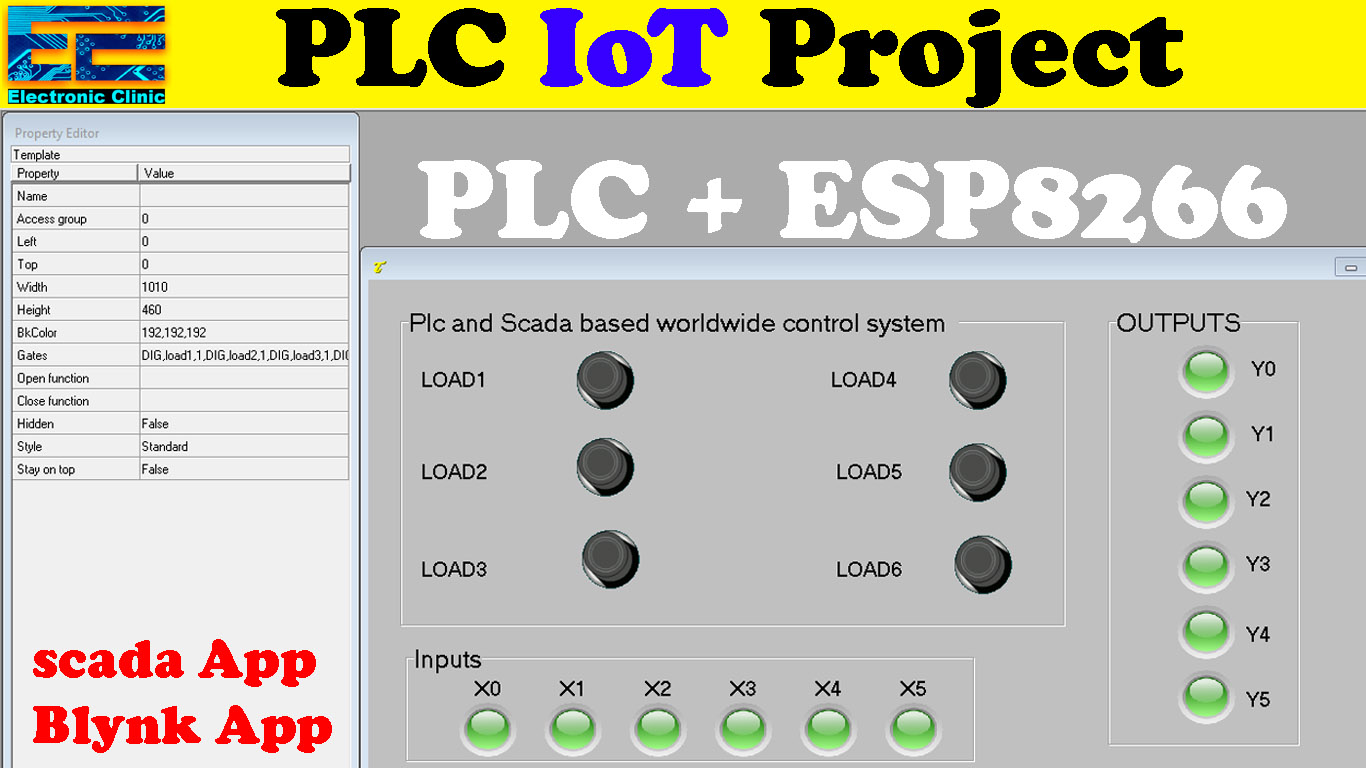

Thanks!! It was really helpful. Now I get the basics of PLC
Very Good , Fahad Bhai , Nicely explained. Many Thanks, Sharad (India)
I really enjoyed the simplicity of your explanation. Am completely to this and I wish to learn from you and want you to be my mentor.
Hi Fahad, thank you for the clear walkthrough.
Quick question though. In your video it shows the timer counting up in red in the timer block and I like that visual feedback while running the program. Was there something that you did to make that show? On mine everything works perfectly, but there is no visual timer that counts up. Also, on mine there is an automatic Program Unit Comment that was added under the “EN” on the timer and the “T50” b input that just says “timer”. Is this a matter of the program version? I downloaded the V3.31 version updated 9/20/2023 from the Fatek website.
Thanks again,
Kent